Setting up the ADC VPN under Windows NT
Close all other windows before proceeding.
Double click on My Computer. Once the My Computer window appears, double click on Dial-Up Networking. If the Dial-Up Networking window does not appear, see your system administrator and tell him/her to install Point-to-Point Tunneling Protocol.

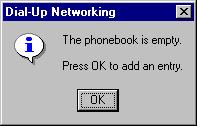
The next menu may or may not appear. If it does, click OK.
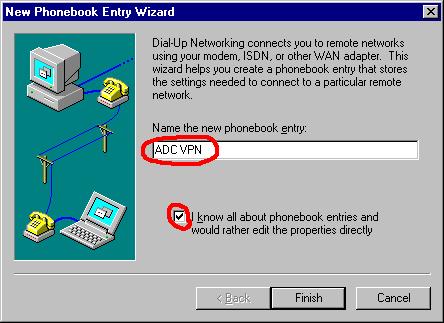
If the New Phonebook Entry Wizard appears, type in ADC VPN as the name, and check the box labelled I know all about phonebook entries and would rather edit the properties directly. Click Finish.
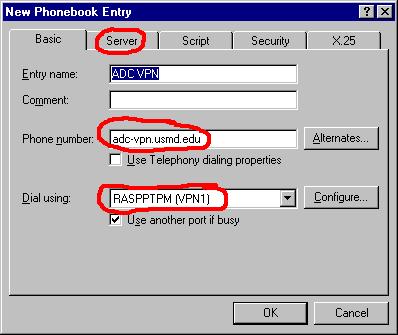
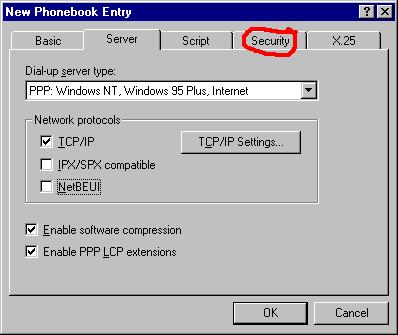
Make sure the Entry name is ADC VPN. Make the phone number adc-vpn.usmd.edu. Make sure that Dial using is set to RASPPTPM. Click on Server.
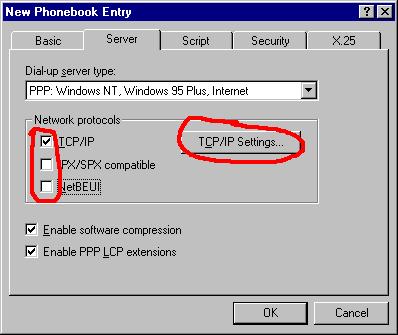
Remove the checks next to NetBEUI and IPX/SPX compatible if they exist. Make sure there is a checkmark next to TCP/IP. Click on TCP/IP Settings.
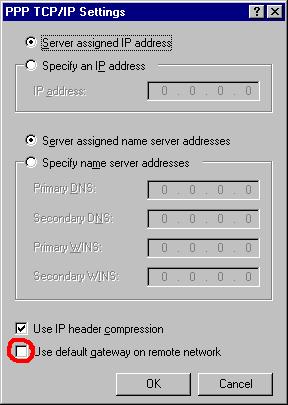
Remove the checkmark next to Use default gateway on remote network. Click OK.
Click on the Security tab.
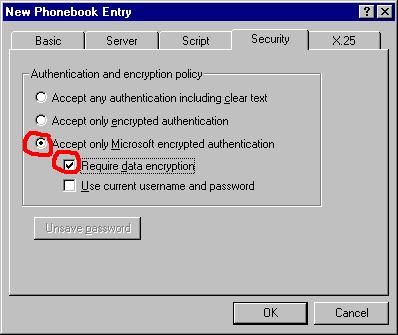
Select Accept only Microsoft encrypted authentication and Require data encryption. Click OK to close the window.
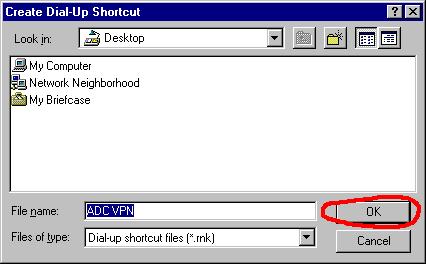
A connection screen will appear. Do not connect; click on More and Create shortcut to entry.
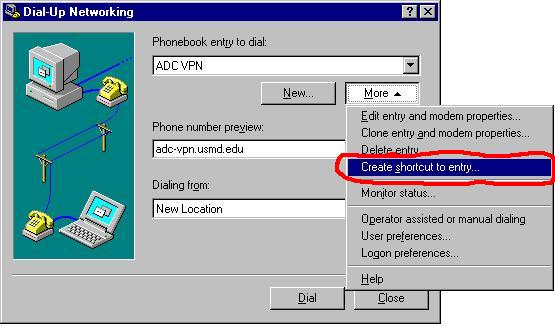
Click on OK to create the shortcut. Click on Close to close the dial up window.
Congratulations! You have now completed setup of the VPN. Before trying the connection, do the steps in the document Setting up RUMBA for ADC VPN.